
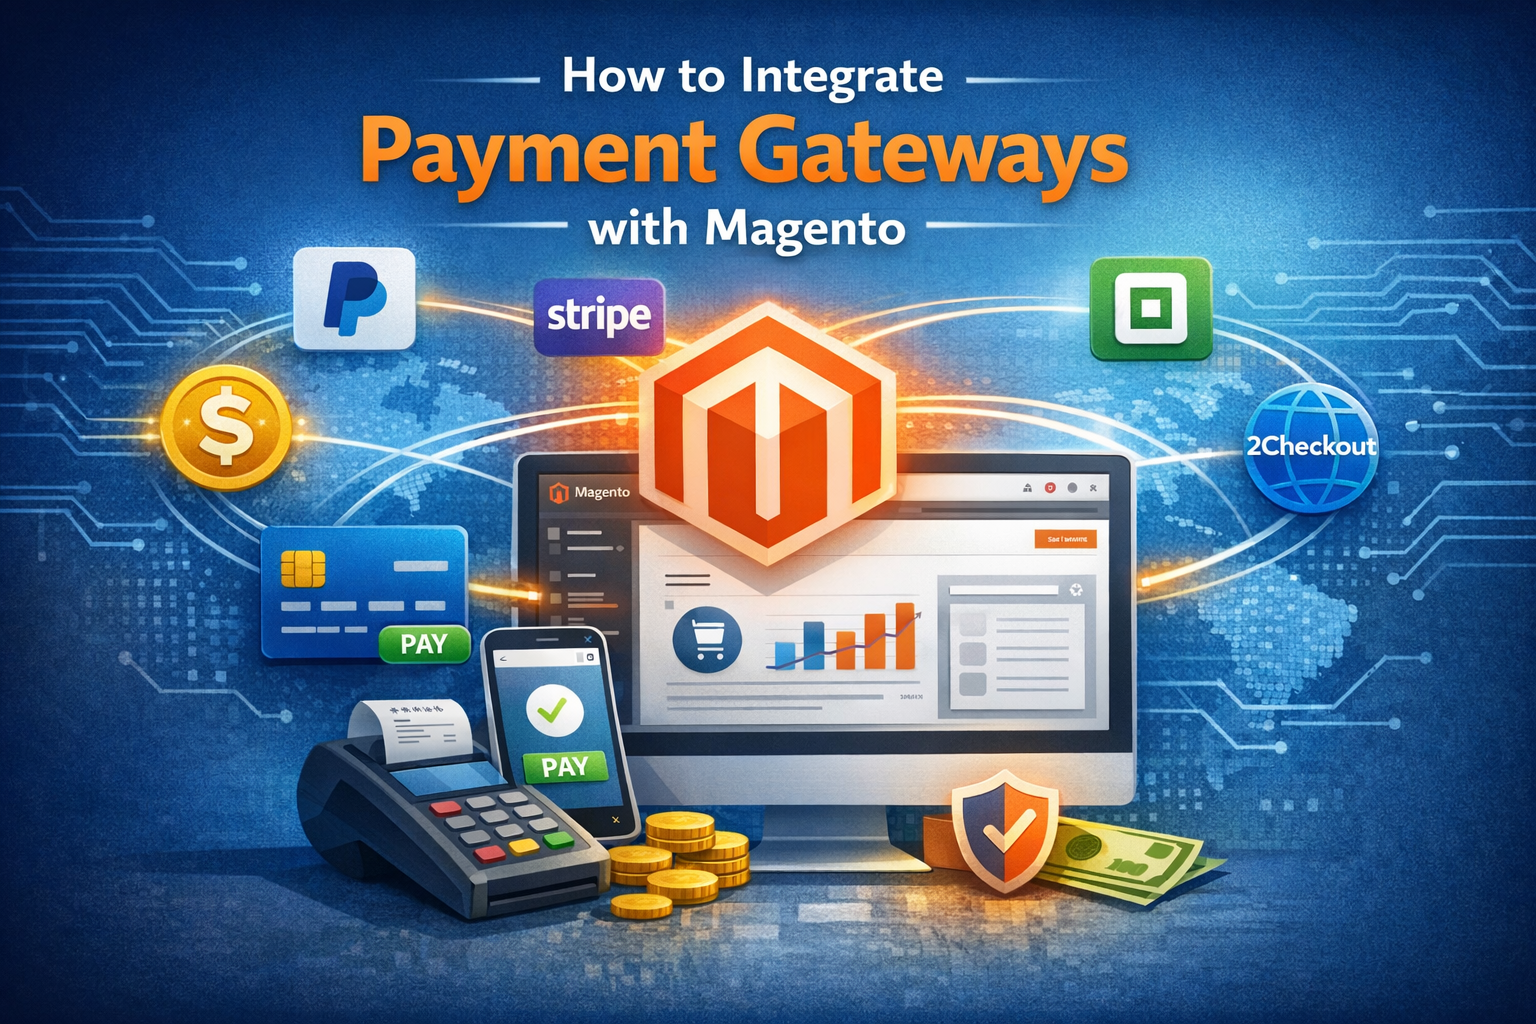
Understanding Payment Gateway Integration in Magento
A payment gateway acts as the bridge between your online store and the payment processor, ensuring that payment information is securely transferred and transactions are authorized. Magento supports multiple payment gateways natively and through extensions.
- Magento 2 Native Payment Options: PayPal, Authorize.Net, Braintree, etc.
- Third-Party Payment Extensions: Stripe, Square, Klarna, and more.
Choosing the right payment gateway depends on your target audience, transaction fees, supported currencies, and security features.
Step 1: Choose the Right Payment Gateway
Before integration, evaluate your business requirements and select a payment gateway that fits your needs. Consider the following factors:
- Transaction fees and costs
- Supported payment methods (credit cards, digital wallets, etc.)
- Security and compliance standards (PCI DSS compliance)
- Supported countries and currencies
- Ease of integration with Magento
- Customer support and reliability
Popular choices include PayPal, Stripe, Authorize.Net, and Braintree.
Step 2: Prepare Your Magento Store for Integration
Ensure your Magento store is ready to accept payments by performing the following preparatory steps:
- Backup your store: Always create a full backup before making any system changes.
- Update Magento: Use the latest stable version of Magento to ensure compatibility and security.
- Set up SSL Certificate: Secure your site with HTTPS to protect sensitive payment data.
- Create merchant accounts: Register for accounts with your chosen payment gateways.
- Enable developer mode: For easier debugging during integration.
Step 3: Install and Configure the Payment Gateway Extension
Most payment gateways require installing a Magento extension or module. Follow these steps to install and configure your payment gateway:
- Find the official extension: Visit the Magento Marketplace or your gateway provider’s website to download the official Magento payment module.
- Install the extension: Use Composer or manually upload the extension files to your Magento installation directory.
- Run setup commands: In your Magento root directory, run:
php bin/magento setup:upgrade php bin/magento setup:di:compile php bin/magento cache:flush - Enable the extension: Verify the extension is enabled via the Magento admin panel or CLI.
- Configure the extension: Navigate to Stores > Configuration > Sales > Payment Methods and enter API credentials such as API key, secret key, merchant ID, etc.
- Set payment options: Define payment title, allowed currencies, order status after payment, and other preferences.
Step 4: Test the Payment Gateway Integration
Before going live, thoroughly test the payment gateway to ensure it works correctly and securely:
- Enable sandbox/test mode: Use sandbox credentials provided by the gateway to avoid real transactions.
- Place test orders: Run multiple test transactions with different payment methods.
- Verify order status: Ensure the order status updates correctly after payment approval or failure.
- Check email notifications: Confirm customers and admins receive appropriate email alerts.
- Monitor logs: Review Magento and gateway logs for errors or warnings.
Step 5: Go Live and Monitor Transactions
After successful testing, switch your payment gateway from sandbox to live mode. Monitor your store’s transactions carefully:
- Perform a few live test transactions: Use small amounts to verify real payment processing.
- Regularly update extensions: Keep your payment module up-to-date to avoid security vulnerabilities.
- Enable fraud protection: Use Magento’s and payment gateway’s fraud detection tools.
- Monitor payment reports: Track sales, declined payments, and chargebacks.
Additional Tips for a Smooth Payment Gateway Integration
- Use official extensions: Only use trusted and official payment gateway modules to reduce security risks.
- Leverage Magento’s built-in payment options: For popular gateways like PayPal, Magento offers native integration that is easier to configure.
- Customize checkout experience: Tailor the payment steps to enhance user experience and reduce cart abandonment.
- Consider multiple payment options: Offering various gateways increases customer convenience and conversions.
- Stay PCI compliant: Ensure your store adheres to PCI DSS standards for secure payment processing.
Frequently Asked Questions (FAQ)
Can I integrate multiple payment gateways in Magento?
Yes, Magento allows you to configure multiple payment gateways simultaneously, giving customers a choice during checkout.
Do I need coding skills to integrate payment gateways?
Basic integration can be done via Magento admin using official extensions without coding. However, customizations or troubleshooting may require developer assistance.
Is Magento PCI compliant out of the box?
Magento provides tools and guidelines for PCI compliance but achieving full compliance depends on your hosting environment and payment gateway setup.
How do I handle failed transactions?
Configure your payment gateway and Magento to update order status appropriately and notify customers. Regularly monitor failed transactions to resolve issues.
What if my payment gateway extension is not compatible with my Magento version?
Always check compatibility before installing. If incompatibility arises, look for updated extensions or consult the developer for support.
Conclusion
Integrating payment gateways with Magento is a vital step in setting up a successful online store. By carefully selecting the right payment gateway, preparing your Magento environment, installing and configuring the payment module, and thoroughly testing the setup, you can provide your customers with a smooth and secure checkout experience. Regular monitoring and updates will ensure your payment process remains reliable and compliant with security standards. Following the steps outlined in this guide will help you streamline your payment integration and boost your store’s sales potential.


Leave A Comment